
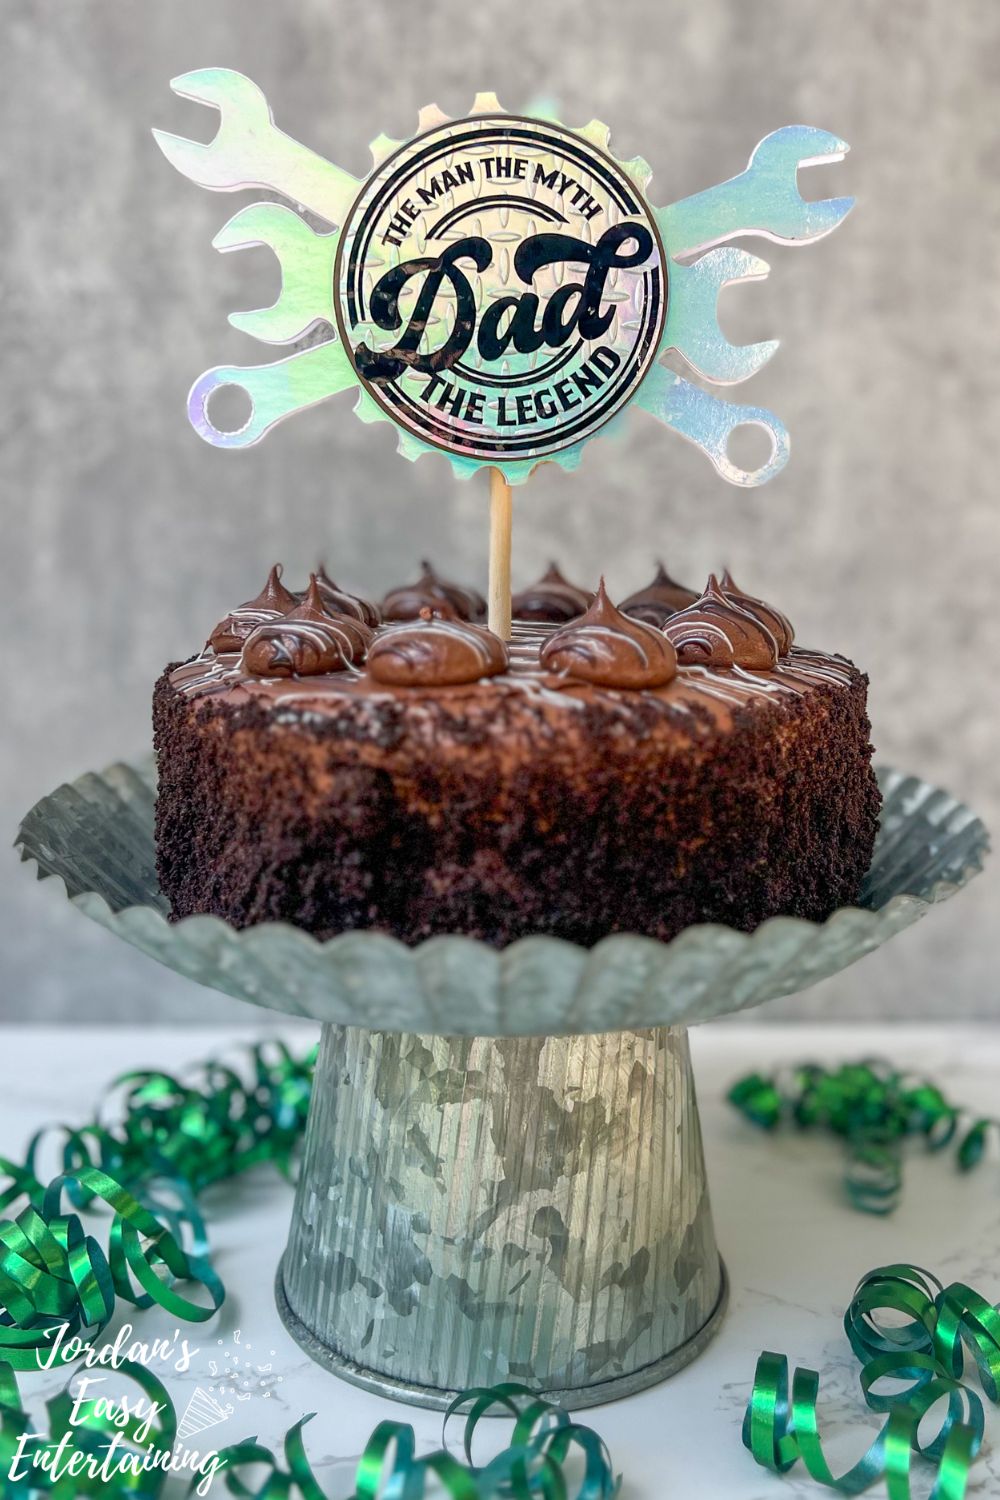
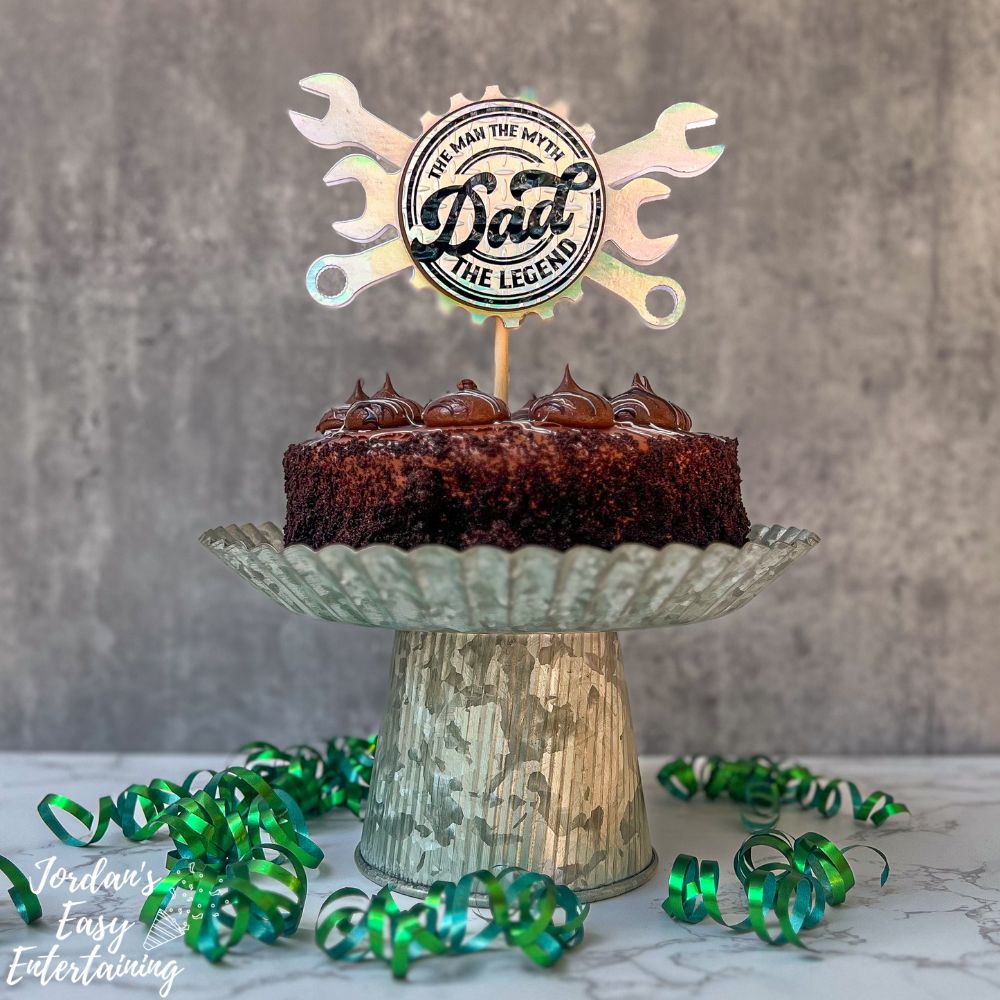
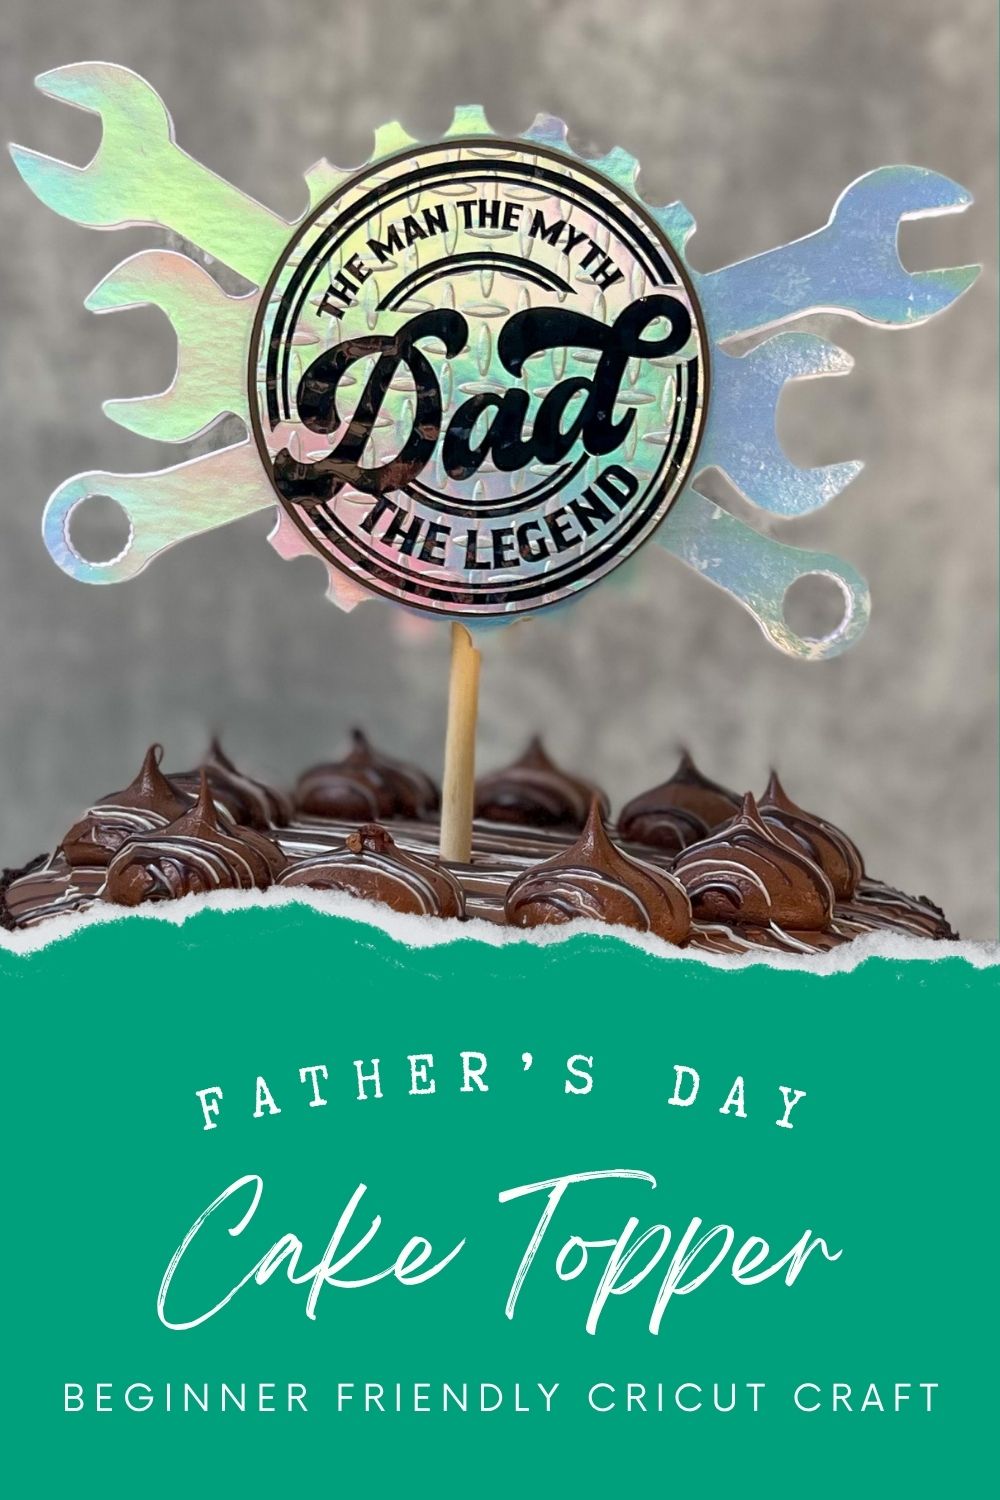
This DIY tool-themed cake topper is a fun and easy Cricut craft perfect for Father’s Day. With bold vinyl lettering and an embossed metallic background, it’s the perfect way to add a handmade touch to your celebration
*This post contains affiliate links for your convenience. If you decide to make a purchase through one of these links, I will make a commission at no additional cost to you. See my full disclosure policy to learn more.
If you’re looking for a fun and creative way to celebrate the dads in your life, this DIY Father’s Day cake topper is just the thing! Made with metallic cardstock, embossed texture, and a bold vinyl design, this tool-themed topper adds a cool, handmade touch to any dessert. Whether you’re baking your dad’s favorite cake or jazzing up a store-bought treat, this easy Cricut craft makes it instantly personal—and way more fun.
📺 Watch the Video Tutorial
In the video below, I’ll show you how I assembled this tool-themed cake topper step by step. You’ll see how I added texture using an embossing folder, applied the vinyl lettering, and layered everything with foam tape to give it dimension. It’s a simple but impactful craft that adds just the right touch to your Father’s Day dessert!
✂️ DIY Father’s Day Cake Topper Supplies
To make this tool themed Father's Day Cake Topper you'll need:
- Cricut Machine
- StandardGrip Mat
- silver metallic cardstock
- brown cardstock
- 110 lb cardstock
- black vinyl
- transfer tape
- Metal Tread embossing folder
- Die Cutting Machine
- glue stick
- foam tape
- hot glue gun
- Wooden dowel or cake pop stick

🛠️ Assembly Instructions (But trust me—you’ll want to watch the video!)
- Open the Project in Design Space
👉 Click here to open the Father's Day Cake Topper project in Cricut Design Space.
I designed this project using images from Cricut Access—so if you’re a subscriber, you’ll have everything you need to make your own! Feel free to tweak the colors or sizing to suit your style, but this base design is ready to go. Layer the Base Pieces
Glue together the layered cardstock shapes to form the base of your cake topper. This gives it structure and a clean, dimensional look.(Optional) Add Embossed Texture
If you’d like to elevate the look, run the metallic cardstock circle through an embossing folder using your die cutting machine. I used a diamond plate pattern (aka metal tread) to match the tool theme, but feel free to choose any texture you love.Apply the Vinyl
Place your black vinyl lettering onto the embossed metallic circle. You can use transfer tape or position the letters manually—whatever works best for you!Add Dimension with Foam Tape
Use foam tape to attach the metallic circle to the brown cardstock circle. Then attach that layered piece to the front of your cake topper base using more foam tape for added pop.Attach the Dowel & Backing
Flip your topper over and hot glue a wooden dowel or cake pop stick to the back. Finish it off by gluing a second brown circle on top to neatly sandwich the stick and give the back a clean, polished finish.
More Cricut Crafts You'll Love

Want More Easy Entertaining Ideas?
Sign up for the Jordan's Easy Entertaining newsletter to get simple recipes, crafts, party plans, and hostessing tips delivered straight to your inbox.
This DIY Father’s Day cake topper is such an easy way to add a handmade touch to your celebration—and you can totally customize it to fit your dad’s style. Whether he’s a grill master, a tool guy, or just loves a good slice of cake, this fun little project is sure to make him smile!
That's it for this DIY Father's Day Cake Topper. Until next time!

Want to remember this DIY Father's Day Cake Topper Idea? Pin for later!


Hi, I’m Jordan – a work at home mom with 3 super fun little boys. I love entertaining guests and want to help you make entertaining easy!